A Better Roof Inspection Report Template
By Sunrise Roofers LLC · Nov 11, 2025 · 11-17 min read
A solid roof inspection report template is more than paperwork to file and forget. It earns trust with the homeowner, keeps your liability down, and gets your whole crew working off the same page. Every detail lands in writing the same way every time — from a little granule loss to a flashing that's flat-out failed.
Why Your Report Template Is a Critical Business Tool
Quit treating the report like a throwaway document. It's a business asset, plain and simple. A vague note scrawled on the back of an invoice leaves everything open to argument and makes you look like a hack. A real report — split into clear sections — is proof of what you found and nobody can wave it off. That clarity is worth its weight come insurance-claim time or when a house is changing hands.
It's the line between a customer second-guessing you and a customer treating you like the expert in the room.
That kind of professionalism is what sets you apart from the next guy. The global market for roof inspection services sat around $5 billion in 2025 and is projected to reach $19.5 billion by 2033. Why? More folks finally get the value of keeping up with maintenance, and the weather keeps getting nastier. So your paper trail matters more than it ever has.
Building Trust and Streamlining Operations
A good template makes the work repeatable. Every inspector runs the same checklist, hits the same components, and writes things up the same way. That kind of consistency is how you build a name people trust.
Hand a homeowner a report that's easy to read, laid out clean, and loaded with sharp photos, and their confidence in you shoots up. This infographic gets at the heart of what a good report does for you.
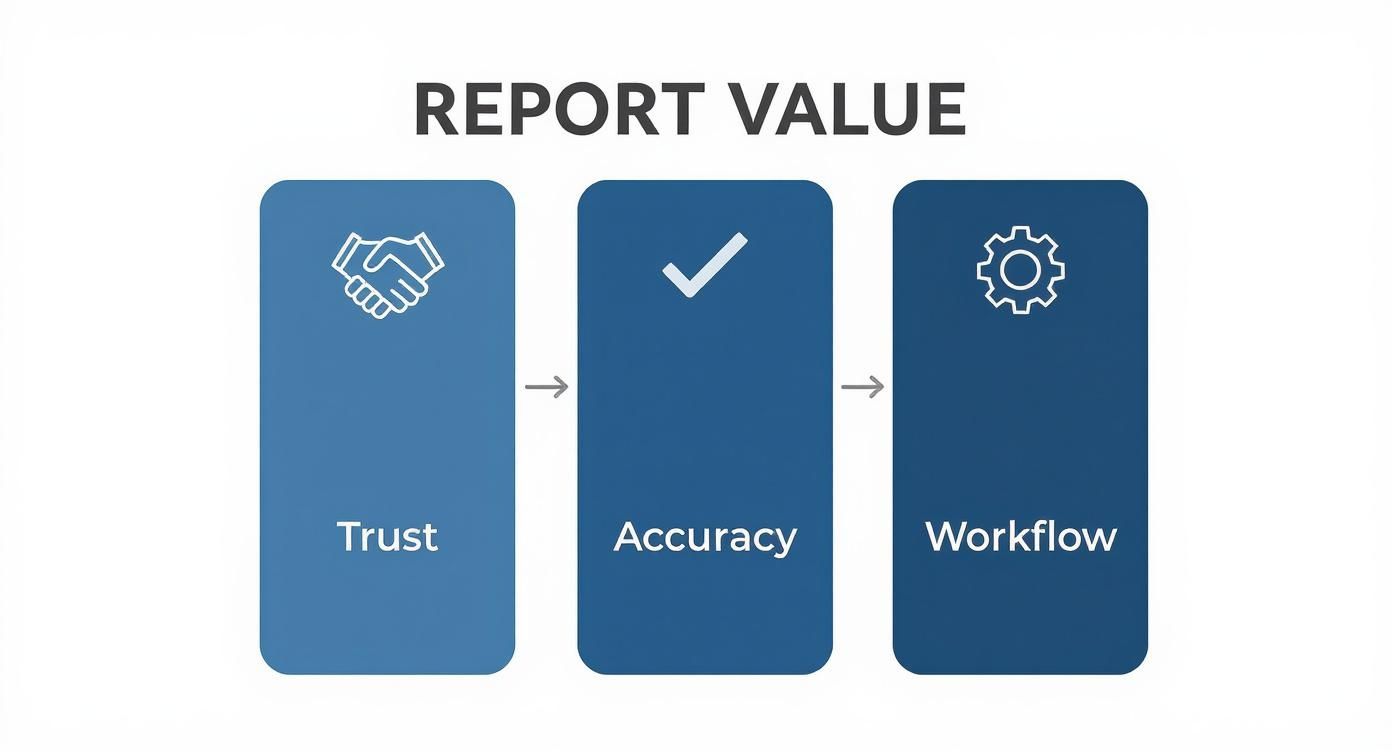
Trust, accuracy, workflow — a good template props up all three at once.
A great report doesn't just rattle off problems — it tells the homeowner the story of their roof. It's your sharpest tool for explaining things, covering yourself, and showing you actually know your trade.
And really, this document is how you cover yourself. Write down the roof's condition before you ever lift a shingle, and you've shut down any future fight over what damage was already up there. Simple thing. Saves your reputation and your wallet both. For homeowners down here in Southern Arizona, knowing why you should choose a reliable local roofer is where this kind of quality and accountability starts.
The Anatomy of a High-Impact Roof Report
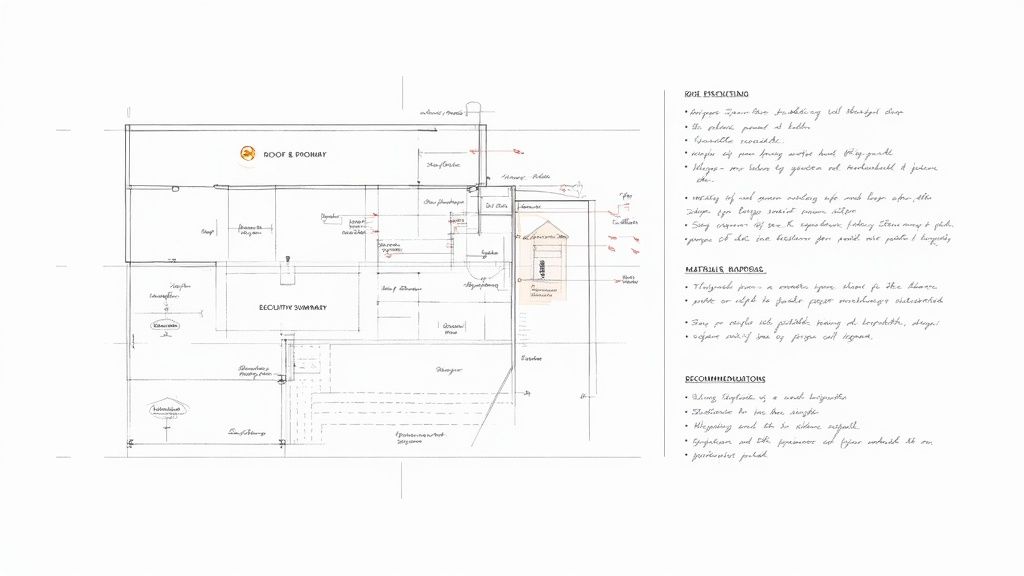 A good roof inspection report does a lot more than list problems — it tells the whole story of where a roof stands. Forget the bare checklist. A report that actually lands is built so anybody can read it, whether that's a first-time homeowner or an insurance adjuster who's seen a thousand of these. They look at it and they know what's wrong and what comes next.
It starts with the plain stuff — client name, property address, inspection date, even what the weather was doing that day. From there a real report goes deeper, turning what you saw up on the roof into something that actually explains itself.
The Non-Negotiable Core Sections
Every solid report leans on a handful of key sections. Think of them as the chapters in the roof's story — they give your findings a shape somebody can follow. A messy, all-over-the-place report just leaves people confused. A clean one earns trust.
Here's what every professional roof report template ought to carry. Skip these and you're not giving a full picture of the roof's health.
Essential Sections of a Professional Roof Report Template
| Section Name | Purpose | Key Details to Include |
|---|---|---|
| Executive Summary | A high-level overview of the roof's condition. It's often the only part a busy client reads. | Overall condition (e.g., "Good," "Fair," "Poor"), major concerns, and a summary of key recommendations. |
| Detailed Findings by Area | To break down the inspection into manageable zones for clarity. | Document the condition of shingles, underlayment, and decking for each slope (e.g., North, South) with annotated photos. |
| Component-Specific Assessments | To assess individual systems like flashing, vents, and chimneys. | Note the integrity, installation quality, and signs of wear for each component. |
| Interior and Attic Inspection | To check for evidence of problems from the inside out. A roof inspection isn't complete without this. | Document signs of water intrusion, staining, poor ventilation, or structural issues visible from the attic. |
Lay it out this way and the important stuff gets caught in an order that makes sense — easier for the customer to follow, easier for you to back up what you're recommending.
From Vague Notes to Actionable Insights
The detail is where the value lives. Vague notes plant doubt. Specific, evidence-backed language does the opposite — it builds confidence and backs up the work you're proposing. This is where what you know shows up on the page.
Look at the difference:
- Vague: "Some shingles are bad."
- Precise: "10-15 asphalt shingles on the west-facing slope exhibit significant granule loss and curling edges, consistent with advanced age and sun exposure."
A detailed report is both your best defense if anyone comes back at you and your strongest sales tool. Put a clear photo behind every finding and there's nothing left to argue about — the customer can make a real decision with real information.
That detail matters more than it used to. There are close to 99,000 roofing companies in the U.S., so homeowners have no shortage of options. Clean, professional reporting is how you stand out from that crowd. And with everybody pushing energy-efficient work these days, reports have to dig deeper to keep up. Read more about the growth of the roofing industry and its trends on prestigerootingllc.com.
A strong report makes your own job easier, too. It maps out the repairs and hands the customer something solid to hold onto. Want to see how that careful approach shows up in the finished work? Take a look at our gallery of completed roofing projects.
Using Technology to Upgrade Your Inspections
A ladder and a good eye used to be the whole toolkit. Not anymore. The right gear turns an inspection from a once-over into real data you can stand behind. Big change.
Bring that tech into your roof inspection report template and you hand customers and adjusters detail they can't talk their way around. It shows you did the work right.
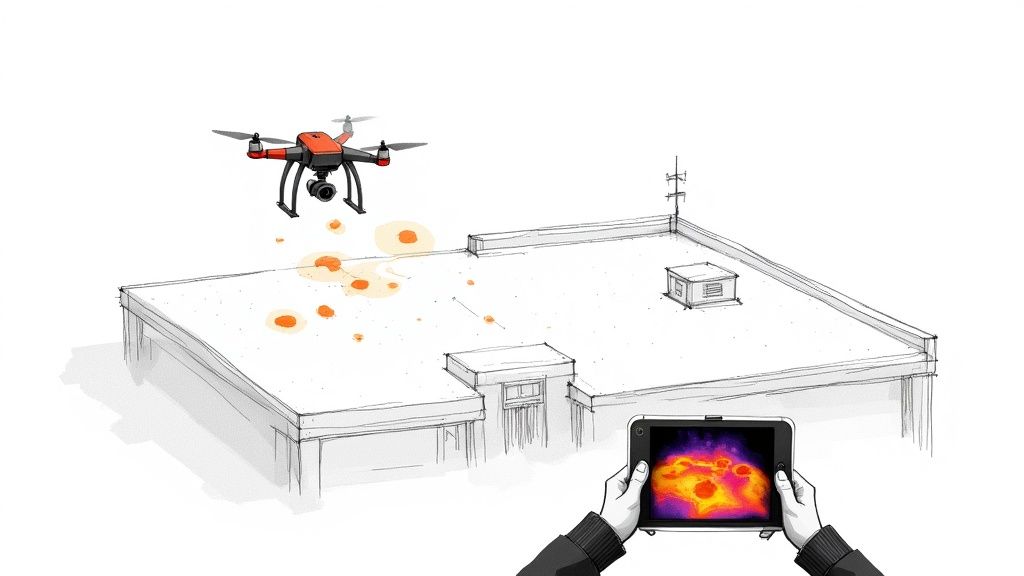
Drones especially flipped the whole thing. They get you onto a steep or sketchy roof in seconds without anybody climbing up and risking their neck. And the cameras on them pull crisp shots of every shingle, tile, and seam.
Drones Deliver Deeper Insights
Picture a big commercial flat roof. Walking the whole thing the old way eats hours, ties up two or three guys, and you can still walk past something small. A drone covers that same roof in a sliver of the time and builds a full photo record from every angle you'd ever want.
And the data's just better. Drones carry different sensors, and that's where it gets good.
- Thermal Cameras: Your ace for sniffing out moisture trapped under the surface. A thermal map lights up the temperature differences that mean water's gotten in — trouble your eye would walk right past.
- High-Resolution Video: Shoot it in 4K and you've got a moving look at the whole roof. Back at the office you replay the flight, pause it, zoom in on the spots you might've breezed over in the field.
- Orthomosaic Mapping: This one's slick. The software sews hundreds of photos into one giant, high-res map of the entire roof that you can actually measure off of.
This isn't some someday thing. It's here. The drone roof inspection market is set to jump from $231.6 million in 2025 to $889.2 million by 2035. Safer and faster — too much upside to ignore. Explore the full market analysis from Fact.MR and check the numbers yourself.
Load your report with sharp drone shots and thermal data and you've got proof nobody can wave off. Your findings stop being your opinion and become a documented, data-backed read on the roof — nothing left to argue.
How to Weave Tech into Your Report
The trick is making all that fancy data land for a regular homeowner. Build your template with real sections for this evidence.
Don't just type "moisture detected." That's lazy.
Put the standard photo right next to the thermal image, problem area circled or lit up so there's no missing it. That side-by-side hits hard.
Say you've got a section called "Thermal Imaging Analysis." Under it goes the image with a caption like, "The darker area on the thermal map shows moisture saturation below the membrane near the northwest corner drain." That picture does the selling for you. Pair the data with a clean, well-built report and you've delivered a real professional roof inspection — the kind that makes your work stand out.
Writing Findings That Are Clear and Actionable
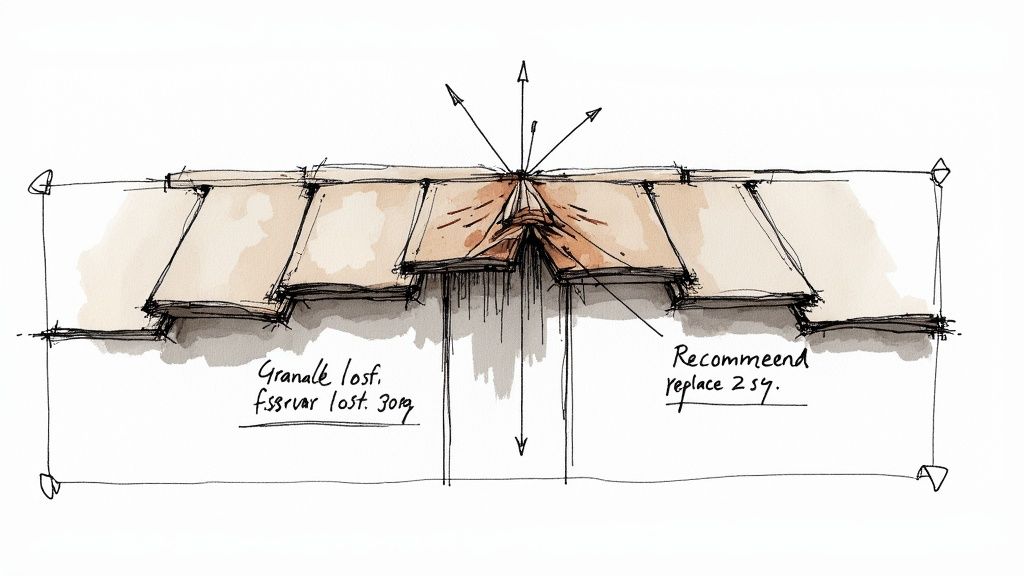
Once you're back down off the roof, the real work starts. A report that carries weight isn't about ticking boxes — it's about putting what you saw into plain, straight language a homeowner, an adjuster, or a realtor can read once and get.
You want to kill confusion, not add to it. Drop the vague, scary wording and stick to the standard terms. People trust a flat fact a whole lot more than they trust an opinion, and they're a whole lot more likely to act on it.
Use Objective Language and Standard Terminology
Your word choice carries weight. Industry terms tell people you're a pro, and they keep your findings consistent so the next contractor or adjuster who reads the report knows exactly what you meant.
Think about it. "Shingles are bare" is an observation, but it's sloppy. "Significant granular loss observed on the south-facing slope" is far better — it names the exact problem and doesn't blow it out of proportion. That precision counts, especially on issues like the ones we get into in our guide on why fixing broken roof tiles in Arizona matters.
Your report is a straight record of the roof's condition, not a sales pitch with the heat turned up. State the facts in plain, calm language and let the evidence do the talking. That earns you a lot more credibility than scaring somebody ever would.
The Power of Annotated Photos
A picture's worth a thousand words, sure — but an annotated picture is worth half the report. Sharp, labeled photos aren't optional. They're visual proof nobody can twist around.
Don't just drop in a shot of a beat-up vent. Take ten seconds and mark it up.
- Use arrows to point right at the cracks in the flashing sealant.
- Circle areas of hail impact or heavy granule loss.
- Add a little text overlay like "Deteriorated Pipe Boot Sealant."
That one step turns a plain photo into a real piece of evidence. It walks the reader's eye straight to the problem so they see exactly what you saw. Saves you a pile of follow-up calls and the arguments that come with them.
From Vague to Valuable Descriptions
The gap between a report that helps and one that's useless usually comes down to how you describe things. Vague lines raise questions. Precise ones answer them. Here's how to turn weak notes into findings somebody can act on.
Report Description Comparison Good vs Bad Examples
This table lays the scribbled, fuzzy notes right next to the clean, fact-based ones. One leaves people confused. The other earns their trust.
| Issue | Vague Description (To Avoid) | Clear Description (To Use) |
|---|---|---|
| Flashing | The flashing looks bad. | Rusted step flashing is visible along the west-facing chimney stack, with a 1/4-inch gap between the flashing and the masonry. |
| Shingles | Some shingles are old and worn out. | Approximately 20-25 asphalt shingles on the north slope exhibit curling edges and widespread granule loss, indicating they are past their effective lifespan. |
| Gutters | Gutters are full of junk. | The gutter system is clogged with leaves and shingle granules, preventing proper drainage and causing water to overflow at the northeast corner. |
| Ventilation | Attic doesn't seem to breathe well. | The attic inspection revealed blocked soffit vents and inadequate exhaust ventilation, evidenced by moisture on the underside of the roof deck. |
Get specific — put a number on it wherever you can — and the customer has what they need to see how bad a thing really is and decide what to do about it. That's how you build a name for being honest and knowing your trade.
Adapting Your Template for Different Scenarios
A generic roof inspection report template is a fine starting line, but anybody who's done this a while knows one-size-fits-all doesn't hold up. Every inspection has its own story. Don't shape the report to the actual job and you can hand over a document that completely sidesteps the one thing your customer cared about.
Treat your base template like a foundation, not a script you read word for word. You build on it depending on the kind of property and why somebody called you out in the first place. What matters on a residential shingle roof is a different world from what you log on a giant commercial flat roof.
Residential vs. Commercial Properties
The biggest swing you'll make is residential versus commercial. Both want a careful eye, no question, but the parts, the priorities, and the way the report reads are just plain different.
- Residential Focus: For a homeowner, the report mostly circles shingles, tiles, underlayment, and the flashing around chimneys and vents. They're thinking about how many years they've got left, keeping leaks out, and whether their gutters are shot.
- Commercial Focus: A commercial report needs its own sections for parapet walls, HVAC curbs, the big drainage like scuppers, and whether the membrane's still sound. The person reading it is usually a property manager watching maintenance schedules and the next big capital expense.
Roll up to a commercial job with a residential template and you look unprepared, flat out. It tells the property manager you don't live in their world.
The report that's worth the most is the one that speaks straight to what the customer needs. A pre-purchase inspection should weigh the long-term costs. An insurance claim report has to lock onto the evidence from that one specific storm.
Tailoring the Report to the Client’s Goal
Past the building itself, the why behind the inspection is what steers everything. The story your report tells has to match what the customer's actually after — buying a house, filing a claim, or just staying on top of maintenance.
Take a pre-purchase inspection. Whole different lens. Now you're zeroed in on how many years the roof has left, the big bills lurking out there, and anything that could blow up the sale. Buyers around here need to know this stuff cold — see what they're after in this Tucson homebuyer roof inspection checklist.
Flip it around to an insurance claim after a hailstorm and the report has to get tight. You log every hail strike, every wind-lifted shingle, every scrap of evidence tied to that exact storm. Then there's the routine maintenance report, which points out the preventative stuff — clearing debris, sealing a cracked pipe boot. Each one needs its own focus or it's not really doing the customer any good.
Common Questions We Hear in the Field
Even with the best template riding in your truck, the real-world questions keep coming. Nailing these little things is what moves a report from decent to the kind that covers you and leaves your customer with zero confusion.
Here's what roofers ask us about most.
What's the Best Software for Roof Inspection Reports?
Honestly, it comes down to how you work. Just getting going? You can knock this out with what you've already got — Google Docs, Microsoft Word, a fillable PDF. They bend to whatever you need and they don't cost you a dime extra.
Once you're juggling a bunch of jobs, though, dedicated roofing software earns its keep. CompanyCam, JobNimbus, AccuLynx — these are built for exactly this. They don't just spit out a report. They tie the photos, the notes, the billing, the whole project together in one place, and that saves you a stack of paperwork time.
How Many Photos Should I Include in the Report?
No magic number. The point is to tell the full visual story of the roof. Enough shots to be thorough, not so many you bury the homeowner in pictures.
Good rule of thumb: start with a wide shot of each slope, then move in close on every problem you find — cracked flashing, busted shingles, whatever's up there.
Smart move, too — snap the key components that are in good shape. Shows you looked at the whole roof, not just the bad spots, and the homeowner gets the full picture.
A great report leaves no room for doubt. Every photo high-res, marked up with an arrow or a circle right on the problem. You're turning a plain snapshot into evidence nobody can argue with.
On a regular house you might land somewhere between 20-50 good photos. A big commercial job can blow past a hundred easy. Chase quality and clarity, not just a fat photo count.
Can a Homeowner Use a Template for a DIY Inspection?
Sure. A homeowner can grab a checklist, walk the perimeter, and catch the obvious stuff from the ground. It's a decent way to keep an eye on things between real inspections.
It is not a stand-in for a pro, though. We're trained to read the quiet early signs that turn into big trouble, we know the local codes, and we know how to get up and down off a roof without getting hurt.
A DIY look-over is fine for routine upkeep. But the second there's an insurance claim, a home sale, or a leak you can't pin down, you want a report from somebody certified and insured. Comes down to accuracy, safety, and who's on the hook if it's wrong.
For a professional, photo-documented inspection that leaves no stone unturned, trust the experts at Sunrise Roofers LLC. Our team provides the detailed reports you need to make informed decisions about your property. Visit us at https://roofwithsunrise.com to schedule your inspection today.
Need roofing services in Tucson? Request a free inspection or call 520-753-1758. Related pages: Roof Repair · Roof Replacement · Service Areas.
Published by Sunrise Roofers LLC
Licensed & Insured Roofing Contractor · Tucson, AZ