A Guide to Commercial Roof Leak Repair
By Sunrise Roofers LLC · Oct 27, 2025 · 16-24 min read
Fixing a commercial roof leak out here isn't about plugging a hole. It's about fighting the conditions that opened the hole in the first place. The sun never lets up, and the temperature swings are wild—both of them beat the daylights out of roofing materials. A real fix starts with finding the root cause, and that's almost never just plain wear and tear.
Why Desert Commercial Roofs Demand Special Attention
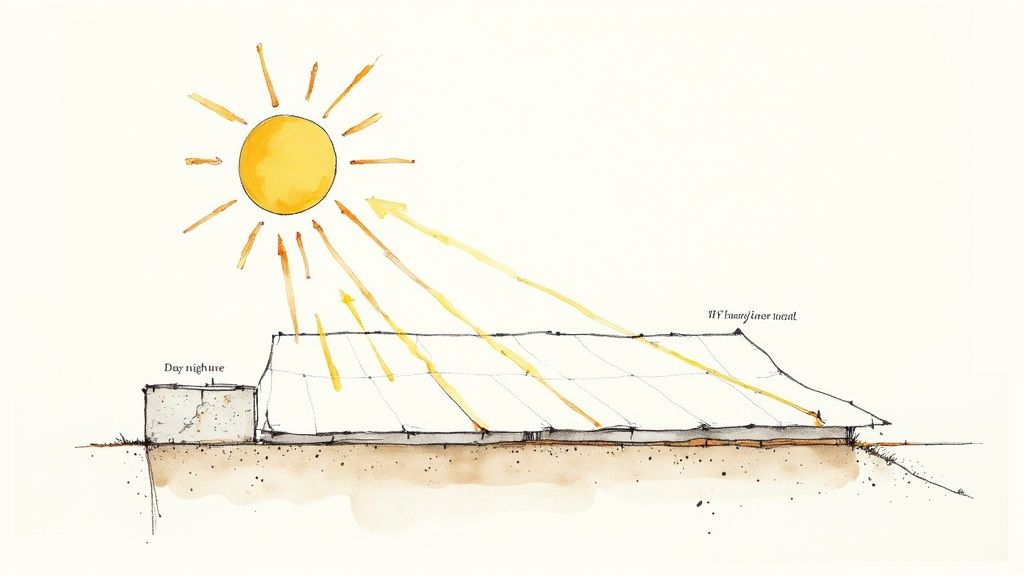
Running a commercial property in the desert comes with headaches that go past the heat itself. That constant UV is working on your roof every minute the sun's up, breaking down the chemical bonds in the material. Bit by bit it goes brittle and starts to crack, and a membrane that'd last decades somewhere mild gives out years early on us.
Then you've got thermal shock. The roof surface can bake past 150°F in the afternoon, then drop 50-60 degrees once the sun's down. It expands all day, shrinks all night, over and over, and that hammers the seams, the flashing, and the sealant around every pipe and vent. That cycle is what kills most flat roofs out here.
The Real Culprits Behind Desert Roof Leaks
In places that get steady rain, rain's the enemy. Here, it's the sun and the heat. They've already chewed through your roof's defenses long before you ever spot a drip inside.
We see the same handful of problems again and again. Here's what we typically find on commercial buildings in our climate.
Common Causes of Commercial Roof Leaks in Desert Climates
| Leak Source | Common Warning Signs | Urgency Level |
|---|---|---|
| UV Degradation | Faded or chalky surfaces, visible cracks, brittle material that flakes when touched. | High |
| Thermal Shock | Separated seams, gaps in flashing, cracked sealant around HVAC curbs and vents. | High |
| Ponding Water | Stains or discoloration, algae growth, debris buildup in low spots after a rain. | Medium |
| Failed Flashing | Gaps or rust around parapet walls, vents, and skylights; water stains on interior walls. | Critical |
| Punctures | Obvious holes from dropped tools, foot traffic, or storm debris. Often hard to spot. | Critical |
Every one of these comes straight from our environment, and every one needs a real approach—not a generic patch out of a bucket.
The hard part isn't fixing the leak you can see. It's dealing with the sun and heat damage that caused it, so the repair survives the next heatwave and the next cold snap behind it.
Slap a patch on a crack and ignore the sun damage, and you've bought yourself a temporary fix at best. That's why reflective coatings change the game out here. A good coating works like a shield and bounces the worst of the sun right back off. See what a professional system looks like, and how a Tucson flat roof coating transformation protects your building and cuts your energy bill, too.
And the need for real commercial roof leak repair isn't just our corner of the world. The market for emergency roofing services is expected to hit $173.9 million by 2025, a lot of it driven by severe weather hunting down every weak spot on a roof. That's exactly why you use methods built for our climate—it keeps a small problem today from shutting your business down tomorrow.
Your Guide to a Safe and Thorough Roof Inspection
Before you fix a leak, you've got to play detective. That stain on your ceiling tile is almost never sitting right under the actual hole in the roof, especially on a low-slope commercial system.
Water's sneaky. It'll run a long way along the deck or through the insulation before it finally shows up inside the building. A repair that lasts starts with a careful inspection—and the inspection starts with safety, every time.
Walking a commercial roof without the right precautions is asking for trouble. The surface can be slick, and our sun bakes materials brittle in some spots and soft in others. You don't always see the hazard coming.
Prioritizing Safety Before You Begin
Your safety and the roof both come first, no exceptions. Step up there without a plan and the right gear and you can get hurt bad, or punch a brand new leak into the membrane yourself.
Here's what a safe inspection takes:
- The Right Footwear: Soft-soled, slip-resistant shoes. Heavy work boots will punch right through a membrane like TPO or EPDM, especially after it's been cooking in the sun all day.
- Watch Your Step: Use the walkways if the roof has them. If it doesn't, move slow and stay off the seams, the flashing, and the sealant joints.
- Never Go Alone: Keep a spotter on the ground. They can see the whole roof and get help fast if something goes wrong. It matters.
- Check the Weather: Don't go up during rain, right after rain, or in any kind of wind. A wet roof is a slip hazard, full stop.
Anybody who knows what they're doing locks down the site before they take one step. That means a stable ladder, OSHA fall protection, and knowing where every piece of rooftop equipment and live wire is before you're up there.
Once you're set up safe, now the real hunt starts.
Tracing the Leak from the Inside Out
You start inside the building, every time. Where the water damage shows up gives you a rough patch of roof to search once you climb up.
And don't just look for a live drip. Peeling paint, stained ceiling tiles, a musty smell in the air—those usually mean a slow leak that's been going for a while. Measure where the stain sits from two solid walls. Those same two measurements will lead you to the matching spot up on the roof.
One thing to keep in mind: on a flat roof, water takes the easy road. The real entry point could be 10, 20, even 50 feet from where you see that stain. The inside mark just shrinks the area you've got to comb through.
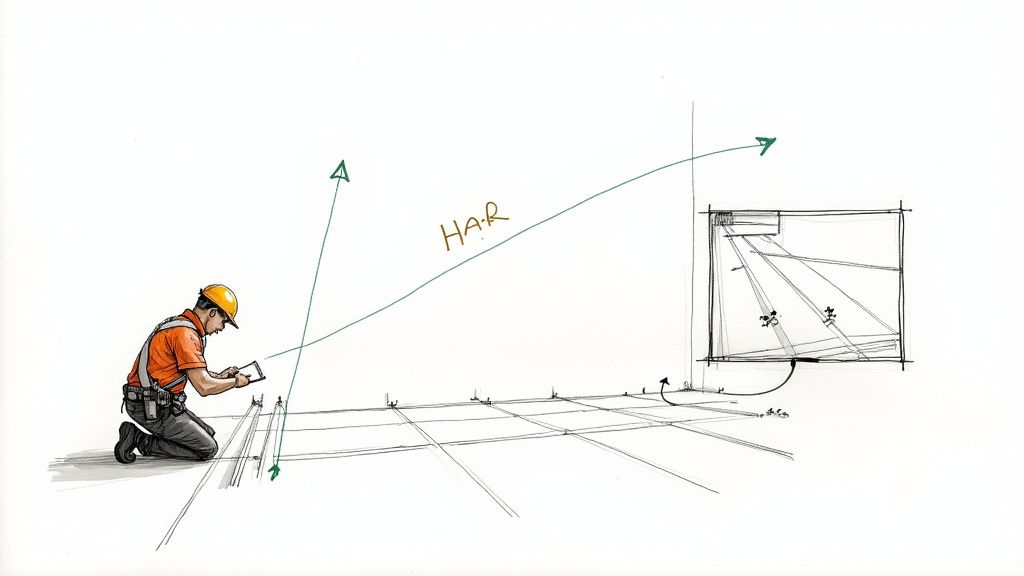
Conducting the Exterior Roof Examination
Now that you've got your inside reference point, head up top. Work the area slow and look for anything that doesn't belong. Most leaks don't start as big open holes. They start small, almost invisible.
Check these weak spots, one by one:
- Roof Penetrations: This is where over 90% of all roof leaks occur. Go over the flashing and sealant around every HVAC unit, vent, pipe, and skylight. You're looking for sealant that's cracked, peeling, or pulling away.
- Seams and Laps: On a membrane roof like TPO or modified bitumen, walk every seam. Watch for separation, bubbling, or "fish-mouthing"—that's an edge lifting up off the roof.
- Areas of Ponding Water: Find the low spots where water sits. Even bone-dry, it leaves evidence—dirt rings, algae. Water that ponds for days is a big red flag, and it breaks the material down fast.
- Flashing Points: Check the flashing along parapet walls and the edges. Anywhere the roof turns from flat to vertical is a spot that fails a lot.
A good visual catches plenty, but a real assessment usually goes deeper. Want to see what we actually look for? Our full roof inspection process lays it out. Doing it this way means you're solving what's actually causing the leak, not just chasing the symptom.
Finding the Leak and Fixing It Right
Once the inspection flags the likely spots, you've got to nail down the actual cause. This is the part that matters most. Get it right and you've got a lasting commercial roof leak repair. Get it wrong and you've got a patch that quits on you come monsoon season.
Out here, commercial roofs tend to fail in ways we can pretty much predict. Let me walk you through the ones we run into most and how we actually fix each. You're all but guaranteed to hit a few of these.
Punctures and Membrane Damage
Physical damage to the membrane is one of the most common things we see, and it's usually not dramatic. Sometimes it's a branch in a storm. More often it's a tool somebody dropped during an HVAC service call, another contractor walking where he shouldn't, or wind-blown gravel sanding the surface down a little more every year.
On single-ply membranes like TPO or PVC, you can't just squirt some sealant on the hole and call it done. There's more to it.
- Clean the Area First: The membrane around the hole has to be cleaned spotless with a manufacturer-approved agent. That pulls off the dirt, the oils, and any broken-down material, so the patch can actually grab.
- Cut and Prep the Patch: We cut a matching membrane patch to size and make sure it overlaps the damage a few inches all the way around. And we round the corners every time—square corners catch and peel up down the road.
- Weld for a Permanent Bond: On TPO and PVC, we heat-weld the patch straight onto the existing membrane. That fuses them into one piece, every bit as tough as the original roof.
A real repair isn't about covering a hole. It's about putting the roof system back together right. Skip the cleaning or the priming, or grab the wrong patch material, and the leak comes right back—same exact spot, too.
Seam Separation from Thermal Shock
Thermal shock is the quiet killer of flat roofs out here. Bake all day, cool off fast at night, expand, contract, day after day. All that movement strains the seams where two pieces of roofing meet, and sooner or later they pull apart.
You see this a lot on EPDM (rubber) roofs and older modified bitumen. The fix is about building a watertight seal that can take the movement instead of fighting it.
We clean the open seam out completely first—every bit of old adhesive and dirt gone. On EPDM, a special primer goes on both faces of the seam to ready them for the new adhesive. Then a good lap sealant or seam tape fuses the material back together, and we run a seam roller over it hard to lock it down.
The global roof repair market runs somewhere between $20-25 billion a year, which tells you how common this stuff is. Houses make up a big chunk of that, but the commercial side is climbing fast because the buildings are worth so much. There were around 96,474 roofing contractors in the U.S. as of 2023, and gear like drones is making inspections sharper than ever. If you want to go deeper, here's a look at the roof repair service market and its trends.
Repair Methods for Different Commercial Roofing Materials
Every roofing material has its own personality, and its own way of giving out. Knowing how to come at each one is the whole trick to a repair that holds. Here's a quick field guide to the systems we see most.
| Roofing Material | Common Failure Point | Recommended Repair Method | Pro Tip |
|---|---|---|---|
| TPO & PVC | Seam separation, punctures | Heat-welded patch | Proper surface prep is everything. The weld won't hold if the membrane isn't perfectly clean. |
| EPDM (Rubber) | Adhesive failure at seams, punctures | Seam tape or liquid-applied flashing | Always use the correct primer. EPDM won't bond properly without it, and the repair will fail quickly. |
| Modified Bitumen | Blisters, open seams, flashing failure | Torch-applied patch or cold-process adhesive | For blisters, carefully cut it open to release trapped air/moisture before patching. Don't just patch over it. |
| Metal | Fastener failure, sealant breakdown | Replace fasteners with oversized ones, re-seal with polyurethane | Don't just caulk over old, cracked sealant. It has to be completely removed first for the new sealant to stick. |
Bottom line, using the right material and the right technique for your roof type isn't just good practice. It's the only way the repair survives our sun and our storms.
Failing Sealant Around Roof Penetrations
This is the leak source we find more than any other. Every pipe, vent, HVAC unit, skylight, and curb is a hole punched through the membrane. All those spots count on flashing and sealant to stay dry, and nothing else.
Our UV doesn't let sealant live forever. It goes brittle, cracks, and pulls back off the flashing—and now water's got a straight shot in.
The fix is not more caulk smeared over the old stuff. That's a band-aid, and it'll probably fail inside a year.
- Total Removal: Get a scraper or a knife in there and pull out every bit of the old, failed sealant.
- Surface Prep: Wipe the area down with solvent to get the residue off. The new sealant won't bond strong without this.
- Apply New Sealant: Lay in a high-grade, UV-stable polyurethane or silicone made for roofing. Tool the bead so it fills the joint completely—no gaps left behind.
If you're forever chasing repairs and you want something more permanent, it can pay to look at a different roofing system altogether. For owners weighing it, our guide on metal roofing in Tucson shows how well it stands up in our climate. Match the right fix to the right problem and the leak's gone for good.
Performing a Professional Quality Spot Repair
You've done the detective work and found where the leak's coming from. Now you switch from figuring it out to fixing it. This is where the right technique separates a band-aid from a seal that actually lasts. We'll take the most common job there is: patching a puncture on a single-ply membrane like TPO or EPDM.
Even a simple spot repair has to be done right, step by step. You're not just covering a hole. You're rebuilding the waterproofing so well it's like the damage was never there. Rush it or grab the wrong materials, and that same leak is back next time it rains.
Surface Preparation: The Foundation of a Lasting Repair
Ask any roofer who's been at it a few years and you'll hear the same thing: 90% of a patch's success is decided before it ever goes down. Prep is everything. Skip it, rush it, and that patch will fail. Guaranteed.
The membrane around the hole is caked in desert dust, grime, and a layer of oxidation from years in the sun. None of that lets a patch grab. You've got to get it down to clean material first. Clean a wide area around the puncture—at least six inches out, all the way around. Use a manufacturer-approved cleaner and a clean rag, and scrub hard. You'll be surprised what lifts off. Then let it dry all the way before you do anything else.
This visual process flow breaks down the core stages of a successful commercial roof leak repair, from identification to a final, lasting seal.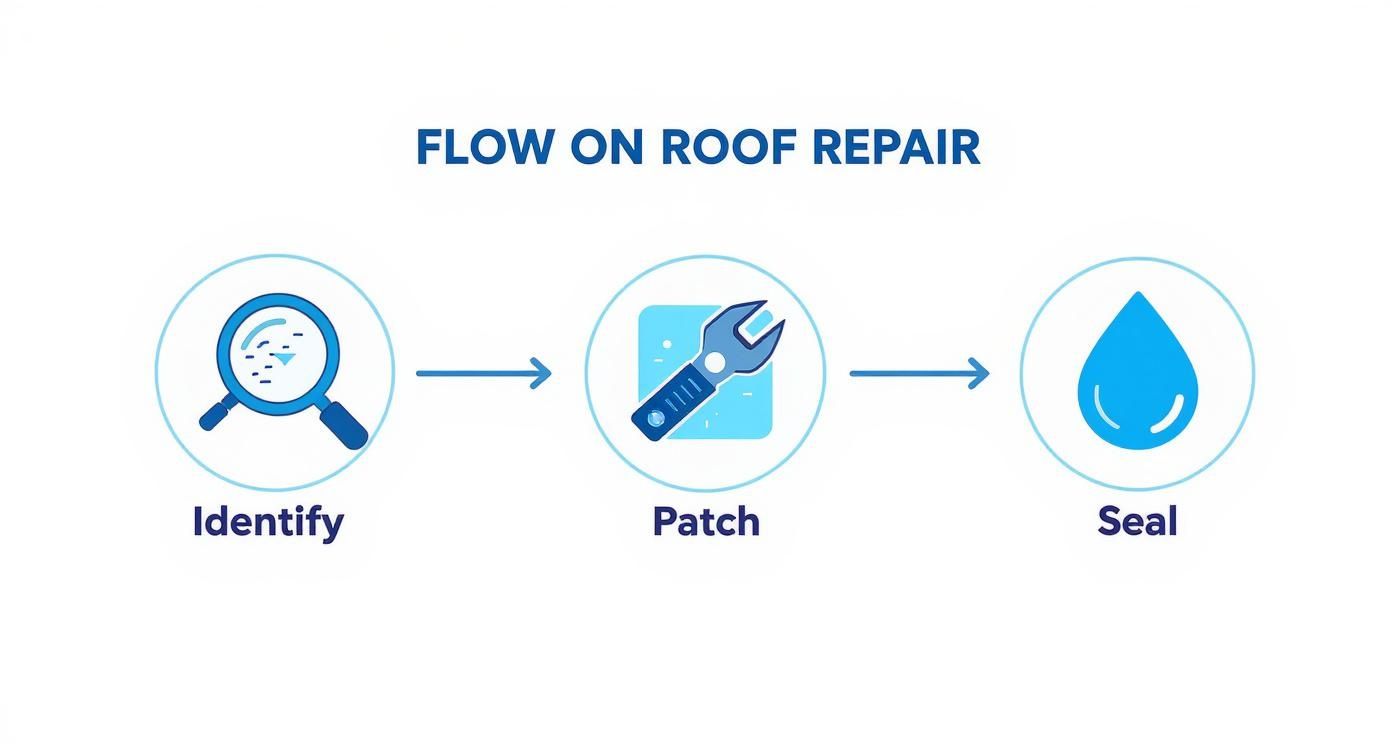
The infographic drives home that a good repair is a few steps, and identifying, patching, and sealing all carry the same weight if you want it watertight.
Assembling the Right Tools and Materials
Show up on a roof with one tube of caulk and you don't have a repair plan—you've got a callback waiting to happen. A real spot repair needs tools and materials made for your exact roof. Mixing and matching products is a mistake. The chemistry can fight itself and the whole repair breaks down in no time.
Here's the basic kit for a single-ply membrane patch:
- Manufacturer-Approved Patching Material: Has to match the roof. TPO roof, TPO patch. Simple as that.
- Membrane Cleaner and Primer: Not optional. These are the chemicals that prep the surface for a strong, molecular bond.
- Heat Gun (for TPO/PVC) or Seam Roller (for EPDM): The right tool to fuse the patch down, depending on your roof.
- Utility Knife and Shears: For cutting the patch clean and accurate.
- Stiff-Bristled Brush: Works the primer down into the membrane.
Expert Tip: Round the corners of your patch, always. A square corner leaves a sharp edge, and that edge is a weak point. It catches and peels up as the roof expands and contracts on you. Little thing, but it makes a big difference in how long the repair holds.
Applying the Patch and Ensuring a Watertight Seal
Clean surface, right materials—now you're ready to put the patch down. How you do it changes a bit depending on the roof.
On a TPO or PVC roof, it's called heat welding. Cut your rounded patch so it laps the hole by at least two inches all the way around. Then heat both the back of the patch and the roof membrane at the same time with a heat gun. As they soften, run a silicone seam roller over it with firm, steady pressure and fuse the two into one piece. When you see a small, even bead of melted material squeeze out along the edge, that's how you know the weld took.
On an EPDM roof, you're working with adhesives instead. After it's clean, prime both the roof and the back of the EPDM patch. Wait till the primer goes tacky, then set the patch down over the hole. Roll it hard with a seam roller, working from the middle outward to push the air bubbles out. Then run a bead of lap sealant all the way around the edge—one more layer of insurance.
Do it this careful and you get a bond that can take everything the desert throws at it. For a tricky leak or a bigger damaged area, calling someone who does professional roof repair in Tucson is the smart play. They'll catch the underlying stuff you might walk right past.
How Proactive Maintenance Prevents Future Leaks
Fixing a leak is reacting. Stopping the *next* one before it starts—that's what saves a property manager money, time, and a whole lot of stress. A **commercial roof leak repair** handles today's emergency. But a simple, steady maintenance plan is what guards your building against this climate for years.Switching from fixing things to preventing them is the best move a property manager can make. It's the difference between a panicked call mid-monsoon and just knowing your building's sealed up and ready. And it does more than add years to the roof—it keeps a small problem from blowing up into a disaster.
Creating Your Year-Round Maintenance Schedule
A maintenance plan doesn't need to be fancy. It needs to be consistent. Out here, the calendar hands us two windows that matter most: before monsoon and after.
Here's the schedule we run for our clients:
- Late Spring (Pre-Monsoon Prep): Your most important inspection of the year. Before the summer storms roll in, you've got to know the roof can take a sudden downpour.
- Late Fall (Post-Monsoon Assessment): Once storm season's over, you check for new damage. The hard sun and heat right behind the rains can turn a tiny crack into a real problem fast.
Two checks a year, hitting the roof right when it's most exposed. That's the whole rhythm.
The point of staying ahead of it is finding the small stuff before the weather does. A clogged drain or a cracked bead of sealant is a cheap, ten-minute fix in May. In July, that same little thing is thousands in water damage inside your building.
The Power of Reflective Roof Coatings
Past the routine checks, the strongest preventive tool we've got out here is a reflective coating. And no, it's not paint. It's a thick elastomeric membrane built to fight the two things that wreck desert roofs—UV and heat.
A good coating lays down a seamless, bright white surface that throws back as much as 85% of the sun's rays. That buys you two big things over the long haul:
- It Shields the Membrane: The coating takes the UV hit so your roofing material doesn't. Less of that means the membrane underneath stays flexible instead of going brittle and cracking, and that adds years.
- It Reduces Thermal Shock: Keep the surface a lot cooler and you flatten out that expand-and-contract cycle—the one that pulls seams apart and eats your sealant.
And these systems work well enough that the market's booming. Global commercial roofing sat around $11.21 billion in 2023 and is projected to reach $19.4 billion by 2032, a lot of it driven by demand for cool roofs that actually hold up to the climate.
They work so well that they're a core part of what we do. A flat roof coating in Tucson is a smart next step for any property manager looking to knock down repair costs and cooling bills both. Your roof goes from a liability to something that puts money back in your pocket.
Common Questions We Get About Roof Leaks
Even with a solid maintenance plan, leaks still happen. When they do, owners and managers need straight answers to make a good call fast. Here are the questions we hear most from clients staring at a commercial roof leak.
How Quickly Do I Need to Fix a Commercial Roof Leak?
Right away. That little drip inside is usually the tip of something bigger going on up in the roof assembly. Once water gets past the membrane, it soaks the insulation—kills its thermal performance and dumps a ton of dead weight onto your deck.
And out here, trapped moisture is the real killer. The day-to-night temperature swings make that water expand and contract, and that'll blow a small puncture into a structural mess before you know it. Best move: get some temporary protection over it to stop the interior damage, then call a pro and get it repaired right within 24-48 hours. Wait on it and you're gambling on bigger secondary damage, a shut-down business, even mold.
Can I Just Fix the Leak Myself?
Honestly? Probably not. A tiny, obvious puncture on a flat, easy spot—a manufacturer-approved patch kit might do it if you've got a sharp maintenance crew. But on 99% of commercial leaks, you want a licensed, bonded, insured pro up there.
These aren't shingle roofs. They're layered systems—membrane, insulation board, flashing, seals, all working together. A bad repair doesn't just fail. It can void your whole roof warranty and spread the damage further than where you started. We've got the gear, the safety setup, and the know-how to do a commercial roof leak repair that ties in clean with the system you already have.
A DIY fix that fails almost always makes the pro repair harder and pricier than it had to be. Cheaper to get it done right the first time by somebody who's done it before.
What’s the Average Cost to Repair a Commercial Roof Leak?
Tough question, because the number's all over the place. A simple patch on a TPO membrane might run a few hundred bucks. A leak that's been quietly going for months? That can mean tearing out big saturated chunks of insulation and rotted decking, and now you're into the thousands.
What you end up paying comes down to a few things:
- Roofing System Type: TPO, EPDM, modified bitumen—the materials all price out differently.
- Severity of the Leak: How big the damaged area is. That's the biggest one.
- Underlying Damage: How much insulation and decking soaked through. This is where the cost can really run.
- Accessibility: A roof crammed with HVAC units and pipes takes more time and labor to work around.
Always get a detailed, line-item quote from a qualified roofer before you sign off on any of it.
How Do I Know if My Roof Needs a Repair or a Full Replacement?
That's the big one. It comes down to the roof's age, the shape the membrane's in, and how often you're calling us out for the same thing. If your roof's near the end of its warranty—usually 15-25 years—a full replacement is often the smarter money long-term.
And if you're seeing problems all over—alligator cracking, a membrane that's shrinking, leaks popping up in different spots—that's the system telling you it's done. We can run a core sample test, cut a small clean piece out of the roof, and read every layer. That shows us exactly what's happening underneath, so you can decide between one more patch and a full replacement with the facts in front of you.
When your commercial property needs an honest, professional look, go with Sunrise Roofers LLC. We give you clear, photo-documented inspections and repairs built to last in the Arizona heat—no commission reps, no closers, just the people who'll actually do the work. Protect your building. Head to https://roofwithsunrise.com and set up your consultation today.
Need roofing services in Tucson? Request a free inspection or call 520-753-1758. Related pages: Commercial Roofing · Roof Repair · Roof Replacement · Service Areas.
Published by Sunrise Roofers LLC
Licensed & Insured Roofing Contractor · Tucson, AZ